Sky Replacement Techniques using Photoshop
In real estate photography, the image displayed to the buyers should invoke half of the curiosity amongst them in buying the property. Simple pictures clicked with a mobile phone camera or DSLR camera will not do. They will just not evoke that type of interest amongst the buyers that the images should do. A professionally clicked photo, along with a little photo editing, however, always does the trick.
Even a photo taken from a right angle using a professional camera can look drab if the conditions for the photo aren’t right- the light balance might be missing, the cloud covers is not enough or there are other distractions in the photo. In this article, we are going to see how to change an element in a photograph- here we will be replacing the existing sky (sky replacement) with a beautiful blue sky.
Find below the step-by-step process/techniques to replace the sky using Photoshop:
Step 1:
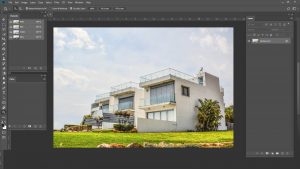
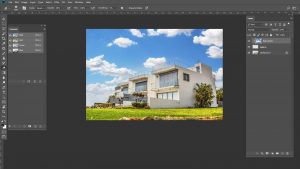
Transfer the image to a computer and into a file type that is suitable for Photoshop. You can then open the image in photoshop. This is one of the best and easiest to use software out there that can help you edit your photos with ease-making any regular image a top notch one which can easily evoke the ‘wow’ factor amongst people.
Step 2:
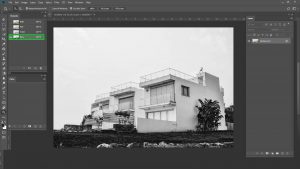
Once you have saved the image in photoshop, you can then proceed to edit it. Firstly, you need to Go to the Channels tab and select the Blue channel.
Step 3:
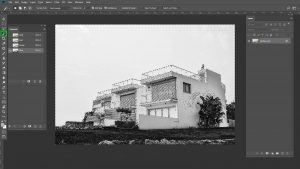
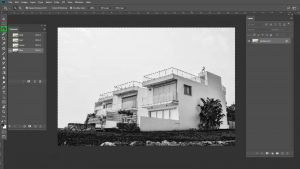
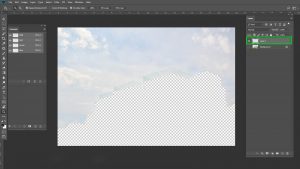
Next, you can use the Magic Wand feature to click and select the entire sky portion. This is the part which you are going to replace.
Step 4:
You can then eliminate the unwanted sky portion with the Lasso tool.
Step 5:
You can then juxtapose the sky image that you want on this layer of sky (drag and drop the sky image)
Step 6:
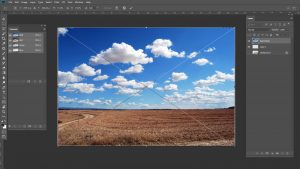
You can then juxtapose the sky image that you want on this layer of sky (drag and drop the sky image)
Step 7:
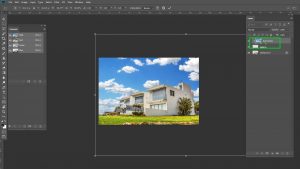
Lastly, you need to hold the Alt Key and clip the sky image on the selected area (which was removed earlier) and adjust the sky according to requirement.
Step 8:
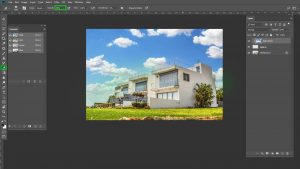
Using the Eraser Tool, erase the bottom part with 50% opacity to ensure that the bottom part blends with the sky.
Step 9:
Once you are satisfied with the image, you can then merge all the layers and save the image in a file type of your choice.
This is one of the easiest sky replacement techniques using photoshop. However, in case you need to make many simultaneous edits to a picture, the services of a professional is a must. Only the professionals who are specialized in providing sky replacement services can make a simple, drab looking picture into a glitzy, colourful portrait of a home that will attract the interest of your target audience. Their experience can be a motivating factor for inquiries by buyers, who may or may not inquire if the photo is not edited up to the mark. Nevertheless, editing a photograph remains the most powerful tool in ensuring the highest rate of inquiries for a real estate project, whether you use the services of professional or not that is a totally different question.


